How to Repair a Cracked Pickleball Paddle Handle
Pickleball is a fun and engaging sport enjoyed by many. However, pickleball paddles can suffer wear and tear like any equipment, particularly in the handle area.
A cracked handle can compromise your game, but repairing it is simpler than you might think. This guide will walk you through the steps to effectively fix a cracked pickleball paddle handle using readily available materials.
Table of Contents
Understanding the Problem
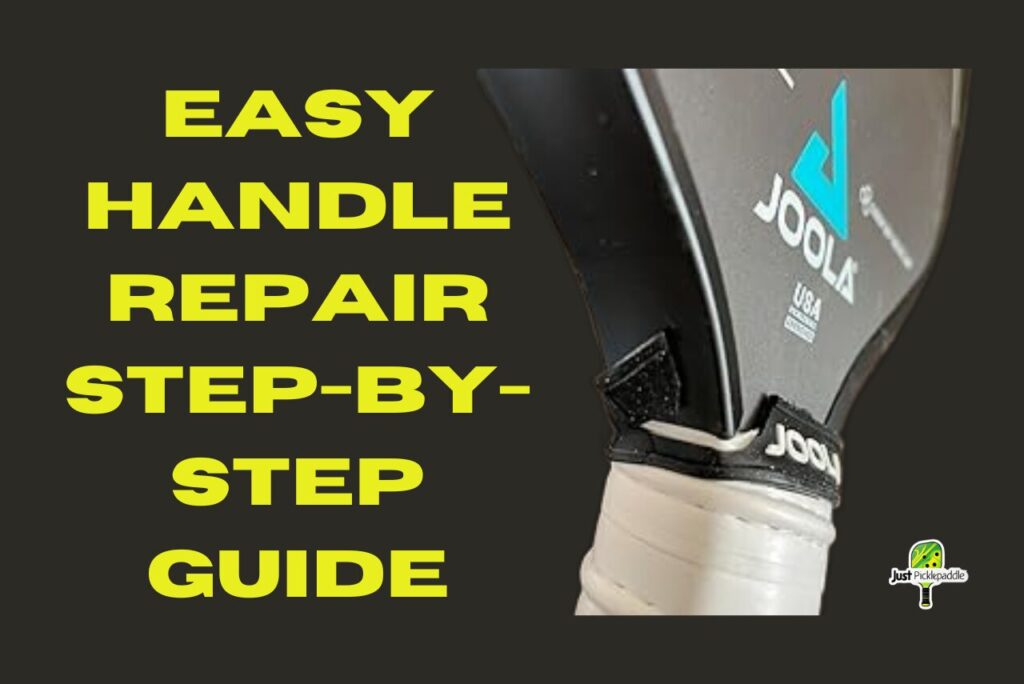
A cracked handle can occur due to several reasons, including excessive force during play or simply the aging of the paddle. Identifying the specific damage is the first step in the repair process.
In most cases, the crack may be on one side of the outer skin of the handle. Understanding the nature of the crack will help you determine the best repair method.
Identifying the Damage
Before starting the repair, inspect the handle closely. Look for:
* Visible cracks on the outer skin
* Loose or damaged end caps
* Condition of the wooden handle shapers
Once you’ve assessed the damage, you’re ready to begin the repair process.
Gathering Your Supplies
You will need a few essential supplies to repair a cracked pickleball paddle handle. Most of these items can be conveniently purchased from Amazon. Here’s a list of what you’ll need:
- 1mm x 400×400 Carbon Fiber Sheet Stock
- T88 2-Part Epoxy Resin
- Putty knife (thin and dull)
- 99.9% Isopropyl alcohol
- Elastic bands
- Sanding paper (120 grit)
Having everything ready will streamline the repair process.
How to Fix a Broken Pickleball Paddle Handle: Step-by-Step Repair Process
Now that you have your supplies, let’s dive into the repair steps. Each step is crucial for ensuring a successful and durable fix.
1 Remove the Handle Wrap
The first step in the repair process is to remove the handle wrap. This will expose the cracked area and allow for a thorough repair. Use a thin putty knife to gently peel back the handle wrap. Take care not to damage the underlying material.
2 Remove the End Cap
Next, you’ll need to remove the end cap. Loosen the glue and carefully pull it off. If the cap gets damaged during this process, don’t worry; replacements are readily available online. This step will give you better access to the handle and the area needing repair.
3 Detach the Wooden Handle Shapers
Once the end cap is off, you can remove the wooden handle shapers. Use a dull putty knife to pry them off gently. This will allow you to work on the cracked area without obstruction.
4 Prepare the Cracked Area
To effectively repair the crack, you need to prepare the area. Start by cutting back the face cover to make room for the repair. Use the putty knife to pull back the edge band, exposing the crack. This step is essential for ensuring a strong bond.
5 Cut the Carbon Fiber
Now, take your carbon fiber sheet and trace the area that needs repair. Cut it slightly larger than the crack to allow for sanding later. This will ensure that you have enough material to work with and achieve a smooth finish.
6 Clean the Surface
Cleaning is vital for a successful bond. Use 99.9% isopropyl alcohol to clean all surfaces involved in the repair. This will remove any dust, oils, or residues that may prevent the epoxy from adhering properly.
7 Mix the Epoxy Resin
Next, prepare your epoxy resin. Follow the instructions on the packaging, typically mixing a 1:1 ratio of the two components. To enhance the mixture, apply gentle heat to remove any air bubbles. This step is crucial, as air bubbles can weaken the bond.
8 Apply the Epoxy
Once the epoxy is mixed, coat both the carbon fiber and the cracked surface with the resin. Ensure an even application to facilitate a strong bond. Remember, it only takes about 6 PSI for a good bond.
9 Sand the Overhanging Carbon Fiber
Once the epoxy has cured, you will need to sand down the overhanging carbon fiber. Be careful not to sand into the existing paddle skin and core. A chamfer on the edges will create a smooth transition to the paddle face, enhancing both functionality and aesthetics.
10 Reattach the Edge Band
After sanding, it’s time to reattach the edge band. Add more resin to the edge band and the paddle edge. Use elastic bands to hold everything tightly together during the bonding process. This ensures the edge band seats properly.
11 Rebond the Wooden Handle Shaper
With the edge band secured, it’s time to reattach the wooden handle shaper. Again, elastic bands work perfectly for holding the shaper in place while the resin cures. This step is crucial for restoring the handle’s original shape.
12 Final Sanding
Once everything is set and cured, it’s time for final sanding. Use sanding paper, approximately 120 grit, to smooth the surface. This step will prepare the handle for a new wrap and ensure a comfortable grip.
13 Apply New Handle Wrap
With the handle now smooth and ready, you can apply a new handle wrap. Choose a wrap that suits your style and provides the grip you need for your gameplay. This final touch not only enhances the paddle’s appearance but also improves your playing experience.
14 Reattach the End Cap
Finally, apply resin to the end cap and reattach it to the handle. Ensure that it is securely in place and allow it to cure completely. This step completes the repair process and restores your paddle to a playable condition.
Final Thought
Repairing a cracked pickleball paddle handle is a straightforward process that can save you money and extend the life of your equipment. With the right materials and a bit of patience, you can restore your paddle to its former glory. Remember to take your time with each step for the best results. Now, you’re ready to hit the court with confidence, knowing your paddle is as good as new!
Frequently Ask Question
Can you fix a pickleball paddle handle?
Don’t toss your damaged pickleball paddle! Most parts, including the handle, grip, and edge guard, can be repaired. Only damage to the paddle’s core or playing surface is beyond repair.
What is the life of a pickleball paddle?
The lifespan of your pickleball paddle depends on how often and intensely you play. Avid players may need a new paddle yearly, while casual players can enjoy theirs for longer.
How can I make my pickleball paddle better?
Increasing your paddle’s swing weight can boost power and spin by allowing you to hit the ball with more force. However, be cautious as added weight can slow down your paddle. If you notice a significant decrease in hand speed, it might negatively impact your power and spin.


